
As I fall in love with bread making, I started exploring more ways of making and shaping bread. I mainly use the basic bread dough recipe shared earlier as the base and work from there. The inspiration for this, as usual, is Instagram. Since I run a food account on Insta, I mainly follow food accounts, one of it - as you've guessed it - Bread. Lately there's a lot of braided breads showing up on my feed and reels. Hence, I had to make one for myself too.
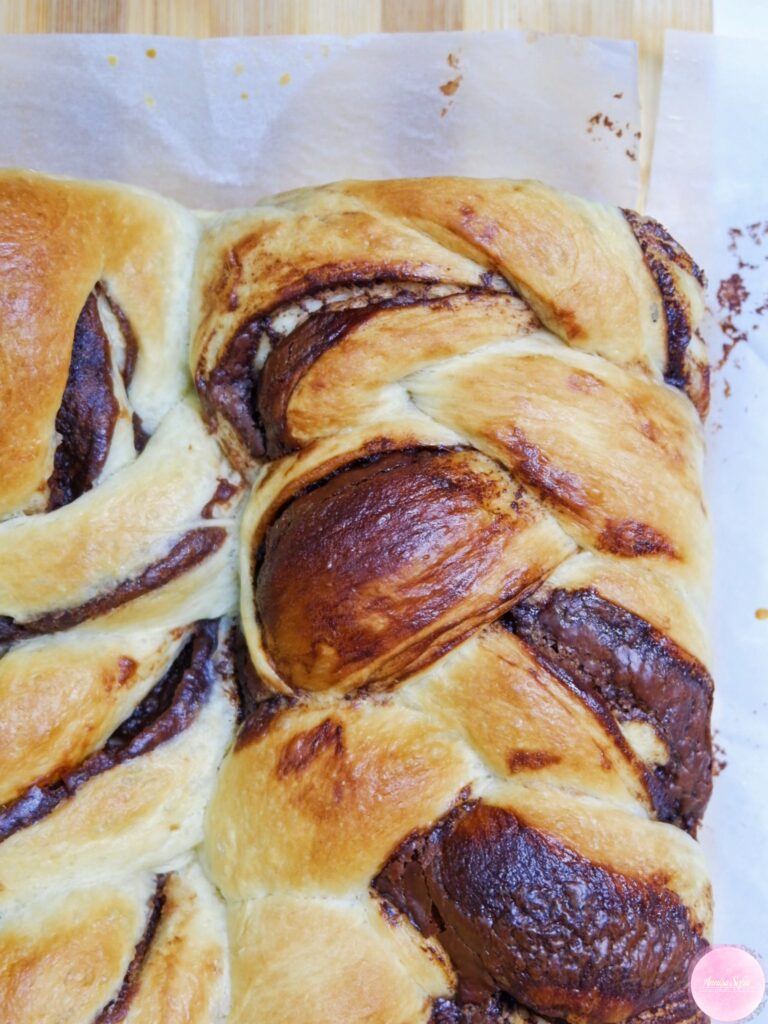
In the video, I actually made 2 versions - one with chocolate filling and the other with red bean filling. Chocolate for my sisters and red bean for the rest of us. I actually prefer the read bean one, though that is just preference. The options for fillings are endless. As long as it is not too wet, you can use it as a filling.
Hope you will have fun with making these as I did.
This uses the basic bread recipe that was shared earlier. Once you've mastered that recipe, this is just an upgrade on shaping the bread loaves.
Makes 2 loaves.
Add about 2 tbsp of water and 1 tsp of sugar to the yeast. Mix and let it stand for 5-10 minutes until frothy.
Add in water, egg and yeast into the bread maker container.
Add bread flour, milk powder, sugar, baking powder and bread improver.
For the salt, make a well at the corner of the flour, add it in and cover with flour.
Add in butter as well.
Select knead or dough function on the bread maker.
Once done kneading, let it rise for approximately 1 hour, or until double in size (depending on surrounding temperature).
Once dough has risen, knead for a while to remove the air. Then divide into halves.
Shape the dough into a ball then roll into a 28x28cm (appproximate) square sheet. Spread the filling evenly on the dough, leaving around 2-3 cm gap around the edges.
Roll the dough into a cylinder shape. Make sure to tighten the seams and ends.
Please refer the video below for this portion: Place the dough vertically and flatten slightly. Make 3 long cuts to form 3 long strands. Leave around 2-3 cm intact at the top. Braid the dough and seal the ends.
Place onto lined 20x20cm square baking tray and let it rise for the second time until double in size. This should take around 45-60 minutes (depending on temperature).
Once dough has risen sufficiently, preheat the oven to 160°C for 10 minutes prior to baking.
Brush the dough with some milk just before baking.
Bake for 25-30 minutes until brown.
Once baked, remove from oven and let it cool for a while in the baking pan. Once warm enough to handle, cut into slices and serve. Best serve warm. Enjoy!
Thank you for trying this recipe. Hope you enjoyed it as much as I did.